Prior to this, our DVDs were all somewhat organized in a closet in the guest room. Two problems with that arrangement: One, the room was filled with crap and hard to maneuver through and didn't even have a reachable light plugged in so I never wanted to go in there to look for a DVD... And two, that room is supposed to become baby's room. Lucky for us, we had one entire wall in our living room that was blank. We found an DVD cabinet from Sauder that would hold the huge number of DVDs that we own. Thankfully, my husband put it together... it did not look like fun. Part two this week is our TV cabinet. It has no holes in the back so all of the cords for whatever we store in there have to run out the front. In addition, we recently got a new TV and some things previously stored on top of the cabinet no longer fit, so more rearrangement was needed. I wanted to be able to run cords out the back of the unit, and also, not see cords everywhere. I also wanted to be able to know where each cord plugged into the power strip belonged so we weren't unplugging four different devices to find the right one.
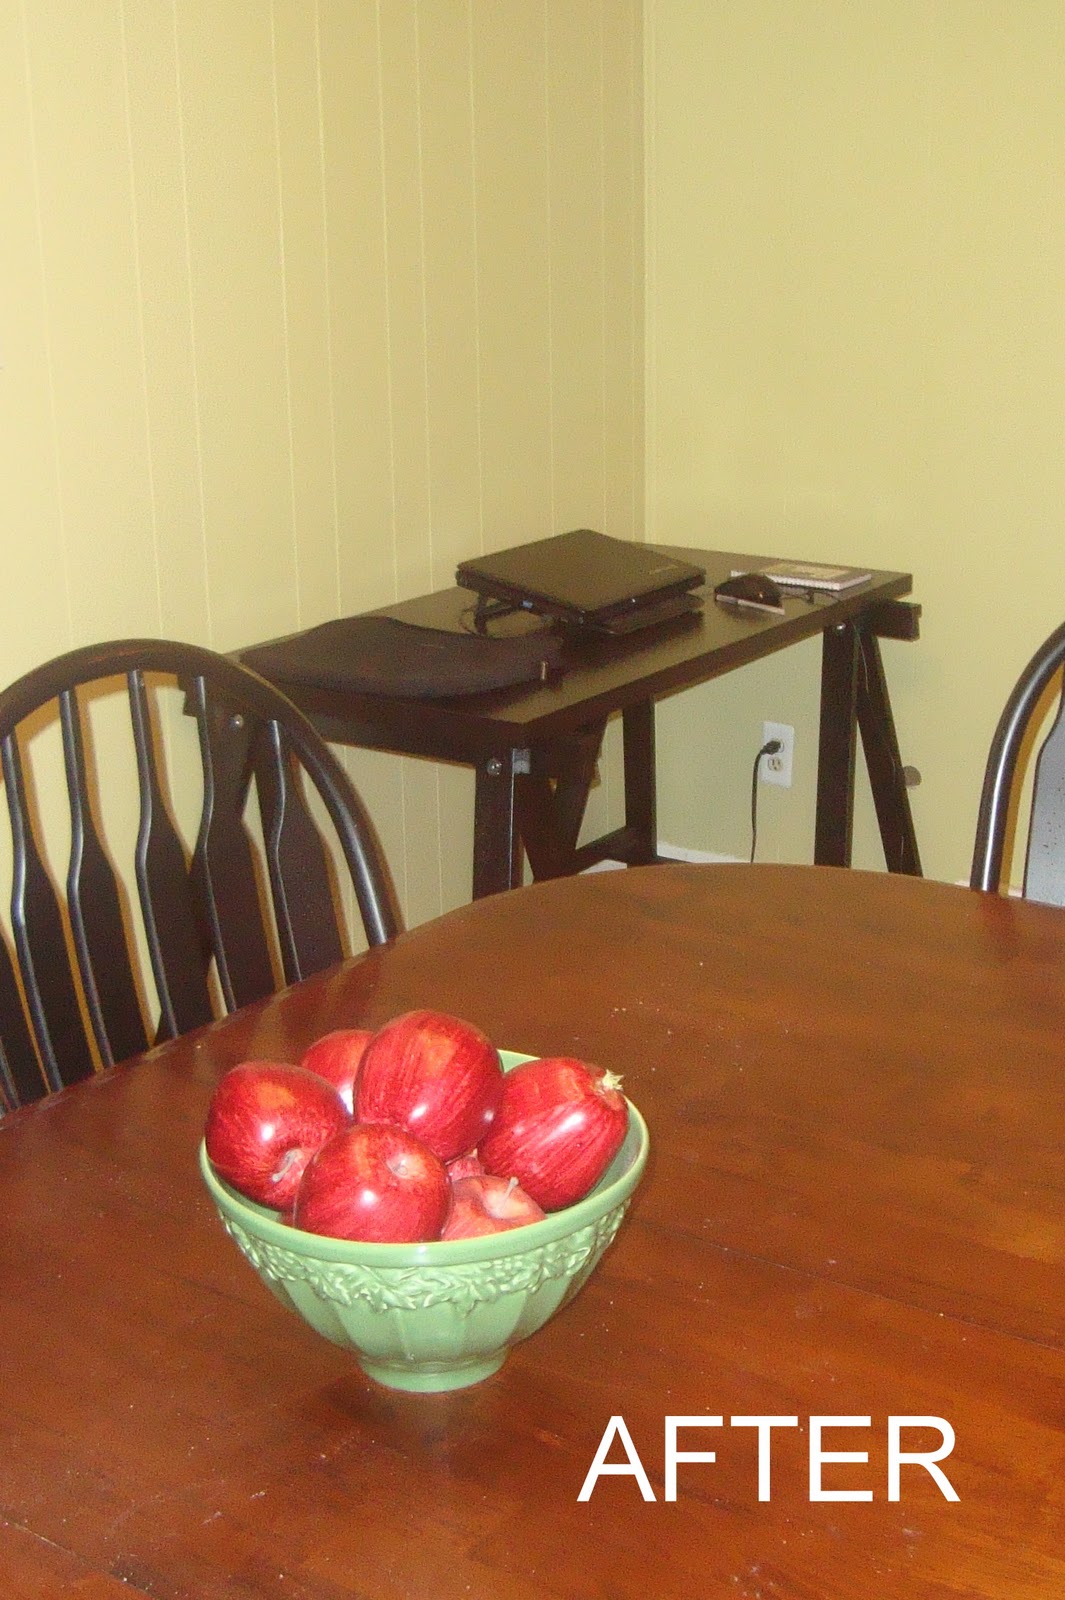
After putting together the DVD cabinet, we thought the rest of the project would be easy. We had an attachment for our drill that is used to make holes for door locks and knobs. We have a very weak drill and a very thick backed TV cabinet. It took a LONG time (several days, actually) of drilling, recharging the drill, drilling, recharging the dill. Lather, rinse, repeat. Finally tonight we finished! Some of the excess of the cords were able to be coilled up inside the cabinet. We were able to place the power strip next to the cabinet and each cord has a bread tag on it indicating to what device it belongs. We still need to untangle a few cords after moving the power strip into place, but overall, it is much cleaner and much more accessible! YAY! Week five... complete!
Tuesday, January 31, 2012
Sunday, January 22, 2012
Week 4: Baby Stuff
This week was supposed to be our DVD storage and our TV cabinet... and that is half done. So to make sure I completed ONE organization project from my master list from start to finish this week, I substituted in the baby stuff. DVD/TV stuff will be next week. It is going to be a couple of months before we can actually start on baby's room, and in the meantime, stuff is building up in our guest room. We have received a lot of gifts already, and we have also been picking up a lot of needed items on clearance as we see them. This has made our guest room/office unusable. We had planned on buying one of the Closetmaid Cube Organizers for baby's room eventually and decided to just go ahead and buy it now and use it temporarily in the guest room to organize all of the baby stuff. Lucky for us the cube organizers were on sale this week at Target. The 9 cube unit was marked down from $52 to $39 and the fabric bins from $7 to $6. We purchased the white cube organizer and three light pink bins, 3 bright pink bins, and 3 green bins (we actually only purchased 1 green bin, we have two extra kakhi colored bins from another project and I have two green ones at work in my office, so I will swap out the two kakhi ones with the two green ones to equal three).
The bins are organized by item type. Newborn clothes, 0-3 month clothes, 3-6 month clothes, 6-9 month clothes, 9-12 month+ clothes, feeding, nursing, bath, and blankets. All of the other stuff is neatly stacked around the cube organizer. This is a temporary storage solution for this room that will easily move to baby's room when the time comes. It also allows us to see what we have so we don't duplicate purchase items, as well as see what we still need. All in all, I'm pleased.
Sunday, January 15, 2012
Week 3: The Kitchen (dining side)
This side of the kitchen is where we eat, but it also has to double as study/homework space for my husband, storage of cookbooks, mail, school supplies, etc. To complete this project, we bought some items from IKEA. We bought a desk $50), a shelving unit ($20), some storage bins ($14), and baskets(it pains me to see in print how much they were). We realized after we got home that we got the wrong size top for the desk, so they are shipping us a new one (so that will look better soon :). It is a good place for Chet's laptop to live and if he's in the middle of working on something he doesn't have to clear it off for us to eat dinner. I'm not loving how the storage bins on the shelving unit look, but for now they work. They house all of Chet's school notebooks, folders, papers, and books, as well as desk supplies and some computer supplies that he uses for school. The baskets (as expensive as they were) are amazing and I'm glad we got them. They house my cook books, grocery bags, napkins, etc. Our mail/important information center area got a clean-up. The two black bins on the bottom are for library books ready to be returned (so whoever happens to be going to the library can grab a bin and return it when they go). The top bin is for one library, the bottom for the other. The marker board unit holds our keys, important messages, and bills that need paid or other mail that needs action. The black and white bin holds incoming mail. I think that's it. A set of curtains and some artwork and the decorative side of this kitchen will meet the new functional part of it :) (but that's a project for another week).
Saturday, January 7, 2012
Week 2: Cleaning Supplies
Under the kitchen and bathroom sinks, the laundry room, the broom closet... we had cleaning supplies everywhere! And they were all just thrown in the spaces. We didn't know everything we had, couldn't always find what we needed, and often bought duplicate items. The goal was to sort what we have into bins that would be stored in each room. We don't need bathroom cleaner under the kitchen sink or kitchen cleaner in the laundry room. The total cost for this project was $10 for five dish washing pans. We ended up with one bin for the laundry room, one for the bathroom, two for the kitchen, and one for the broom closet. We also had one box of miscellaneous items that don't belong in the house and will be put in the garage until we organize the garage in the spring (miracle grow, insect repellent, etc).
We laid out bins for each area and then gathered all of our cleaning supplies from various rooms and laid them out on the kitchen floor. Then we sorted :)
We made our own dishwasher detergent which consists of equal parts borax and washing soda. Mix together. Use 1-2 tablespoons per load. Use vinegar as a rinse agent if needed.
The laundry bin holds dryer sheets, bleach, vinegar, static guard, stain stick, and our homemade laundry detergent. Laundry detergent recipe can be found here!
Week 2: COMPLETE! :)
Monday, January 2, 2012
Week 1: The Pantry
These cabinets that constitute our pantry are great, and were some definite starts to organization. Not sure what happened there. But now every time we come home from the grocery store we just squeeze stuff in the best it will fit. We don't know what is in there or how old it is. Pulling out appliances to use is annoying because things fall or you have to take our five other items to get to the one you want. I spent $21 on three glass jars and four plastic shoe boxes. I used mason jars and other bins already on hand to do the rest. I used bins to group like items together in the pantry and transferred flour, sugar, and the like to glass jars. I labeled most of the bins (more for my husband than for myself) and organized the appliances so that one could be gotten to without having to pull out multiple. I also relocated a few less used items (large containers, vases, etc) to an unused lazy susan on the other side of the kitchen. This freed up more room in the pantry cabinets for the items we need to access more regularly. We also got rid of a lot of expired products. There is also room to grow both for items in jars, canned goods, or other items we might need to store in the pantry in the future. Week 1: complete.
Subscribe to:
Posts (Atom)